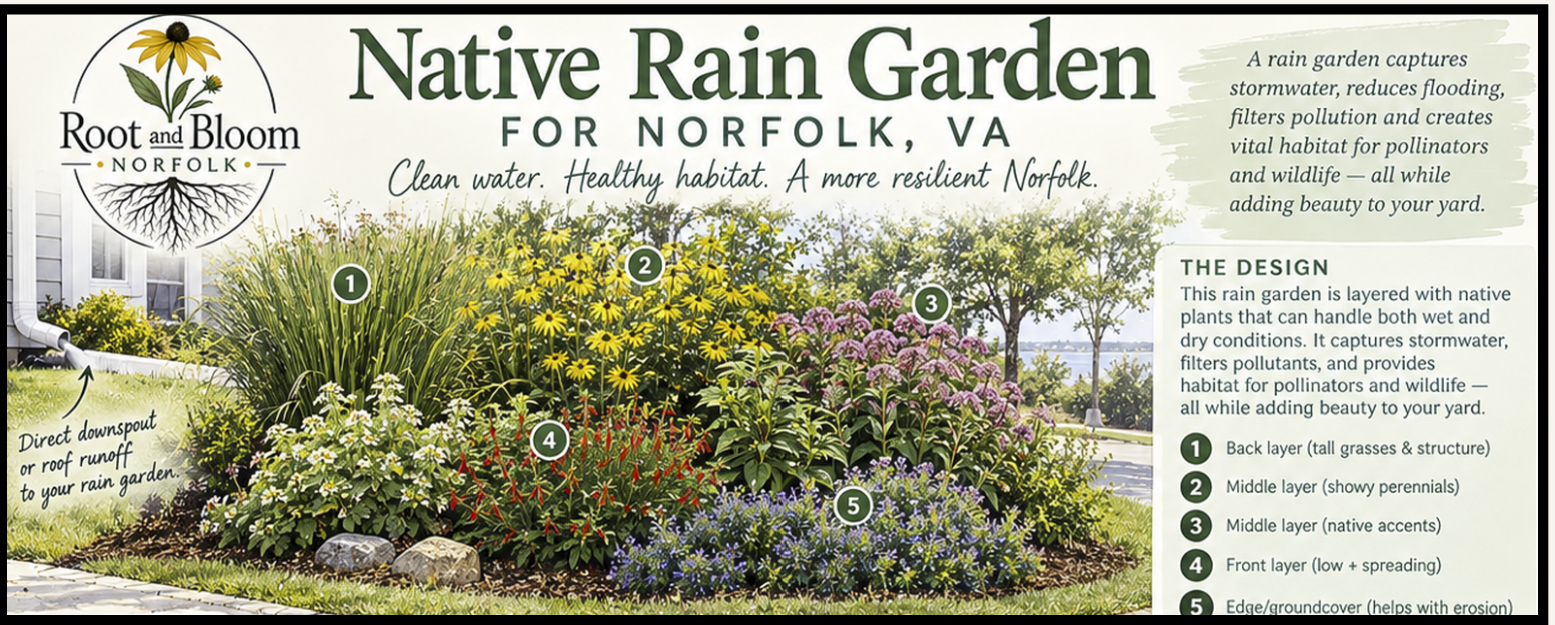
Native Rain Garden Plan

A simple rain garden plan complete with plant tips and planning ideas. 
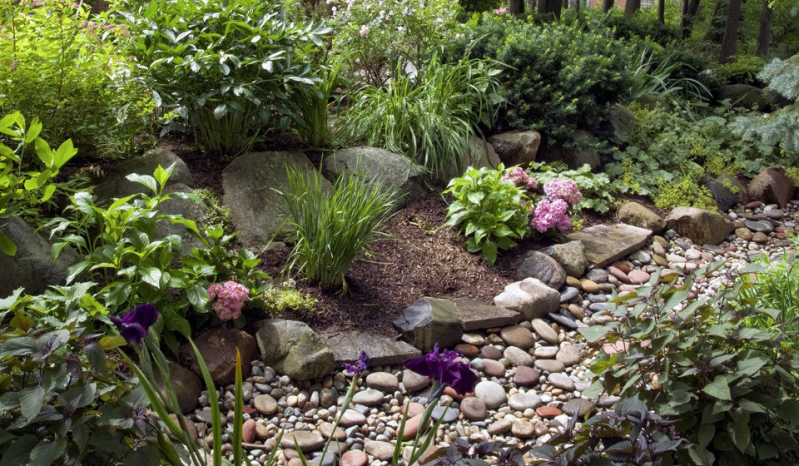
Supplies You'll Need:

Gather your supplies before you start. The exact quantities depend on the size of your rain garden and the drainage conditions in your yard.

Planning and excavation

  • Measuring tape and garden stakes

  • String or marking paint

  • Shovel and spade

  • Garden rake

  • Wheelbarrow

  • Level or straight board with a level

  • Gloves and safety glasses

  • Hose or buckets for testing drainage

Soil and drainage

  • Compost or other soil amendments, if appropriate for your soil test and local guidance

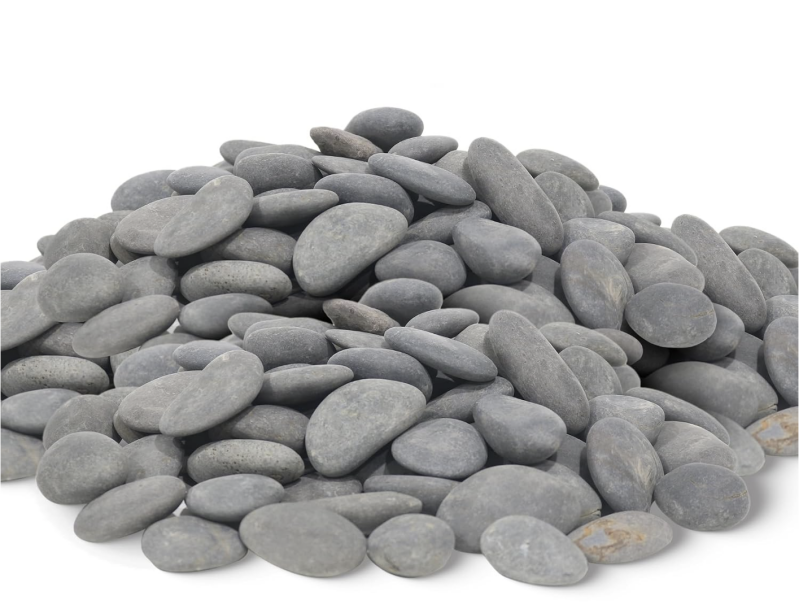
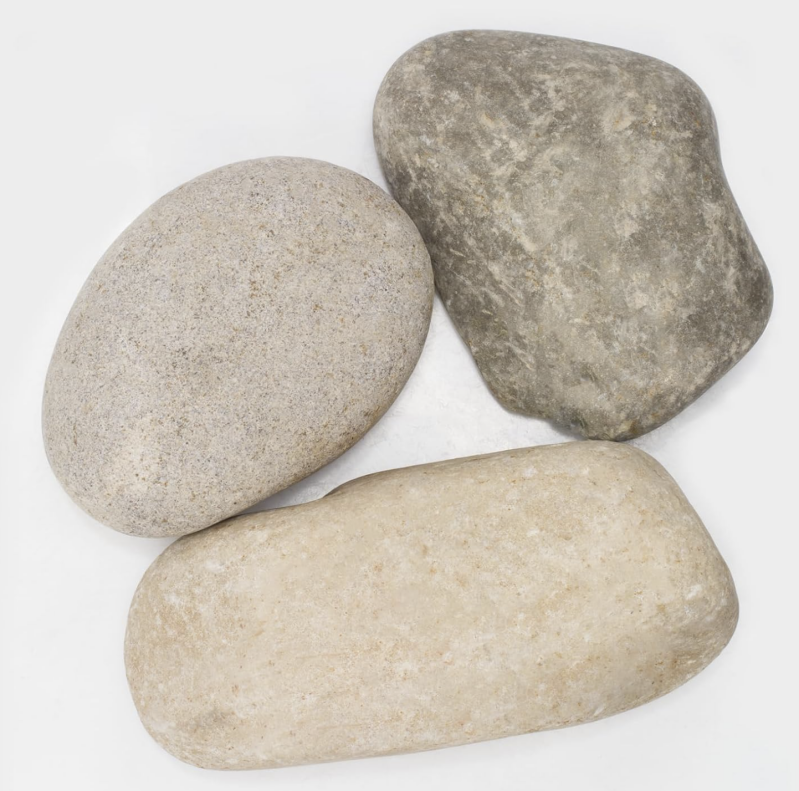
  • River rocks or gravel to line the inlet, spillway, or bottom to prevent erosion and slow down rushing water
  • Suitable topsoil, if needed to shape the garden

  • Mulch, preferably shredded hardwood or another suitable natural mulch

  • Optional perforated PVC drainage pipe for a professionally assessed, clay-soil installation

  • Appropriate pipe fittings, cleanouts, and an approved outlet if a drainage system is needed

Plants

  • Native plants suited to your sun and moisture conditions

  • A mix of grasses, flowering perennials, and, where appropriate, shrubs

  • Plant labels or a simple planting plan

A note about clay soil: Don't automatically add sand to clay or install perforated pipe simply because your soil is heavy. Both choices can create problems if the garden is not designed correctly. Test your drainage first. A rain garden in clay may need to be shallower, larger, amended according to local guidance, or designed with an engineered underdrain.

    Links to Buy Supplies: 

    Amazon Affiliate Disclosure: Root & Bloom Norfolk is a participant in the Amazon Services LLC Associates Program, an affiliate advertising program designed to provide a means for sites to earn advertising fees by advertising and linking to Amazon.com. We may earn a commission from qualifying purchases made through our links, at no additional cost to you. Thank you for supporting Root & Bloom Norfolk!

    • 1-2 Inch River Rocks for Landscaping
    • 4-7 Inch Pebbles for Landscaping
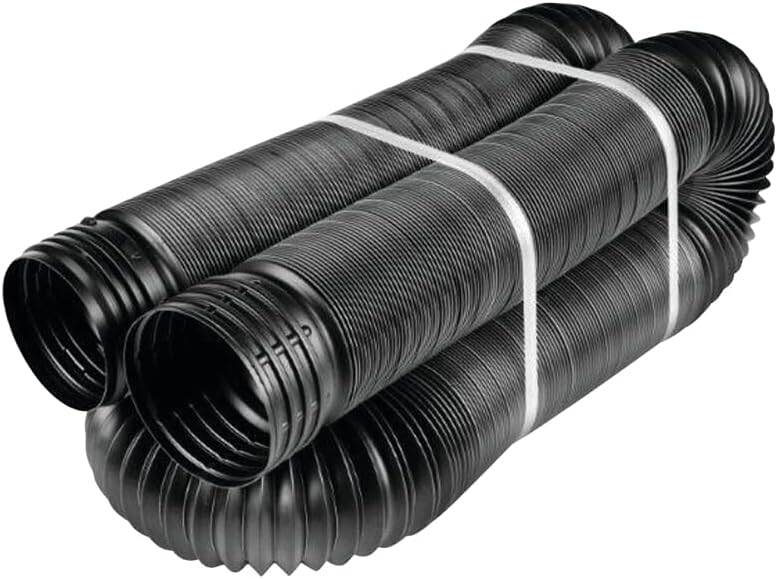
    • 4 in. x 25 ft. Solid Flexible Drain Pipe – Black PVC Corrugated Drainage Tubing for Downspouts, Yard Drainage & Water Diversion
    • 600Lb Wheelbarrow

    Links to Buy Plants: 

    Affiliate Disclosure: Root & Bloom Norfolk participates in the TN Nursery affiliate program. When you purchase through our affiliate link, we may earn a commission at no additional cost to you.

    We share gardening resources and plant recommendations to help our Hampton Roads community grow native, support pollinators, and create more resilient landscapes. We only want to share resources we believe may be helpful to our readers.

    Thank you for supporting Root & Bloom Norfolk and our mission of growing native, one yard at a time!

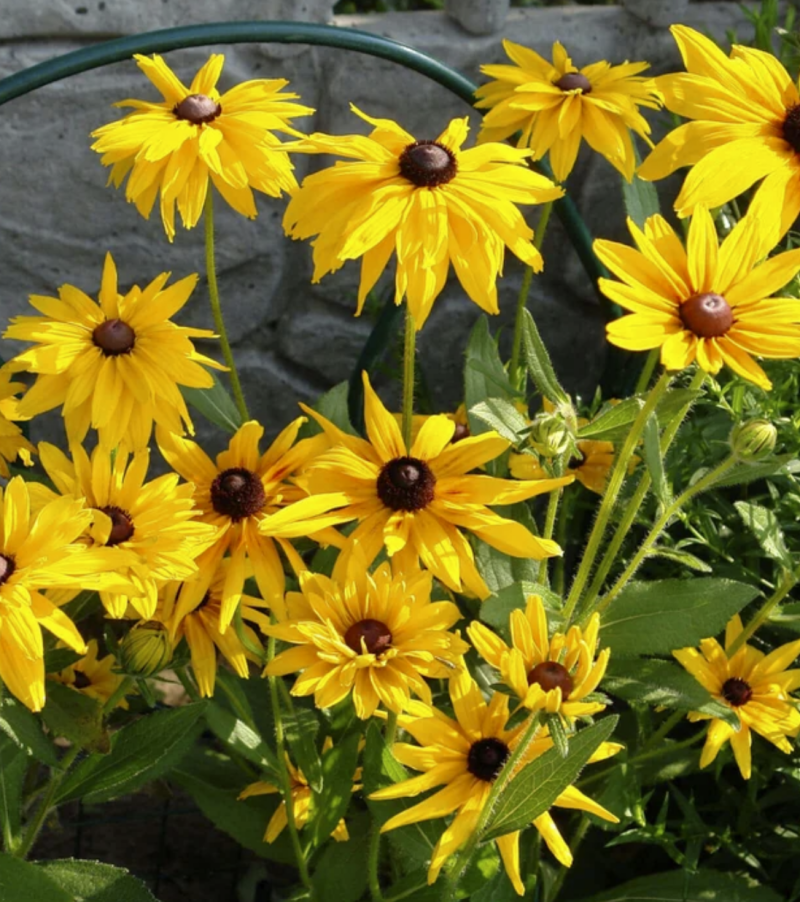
    • Black Eyed Susan
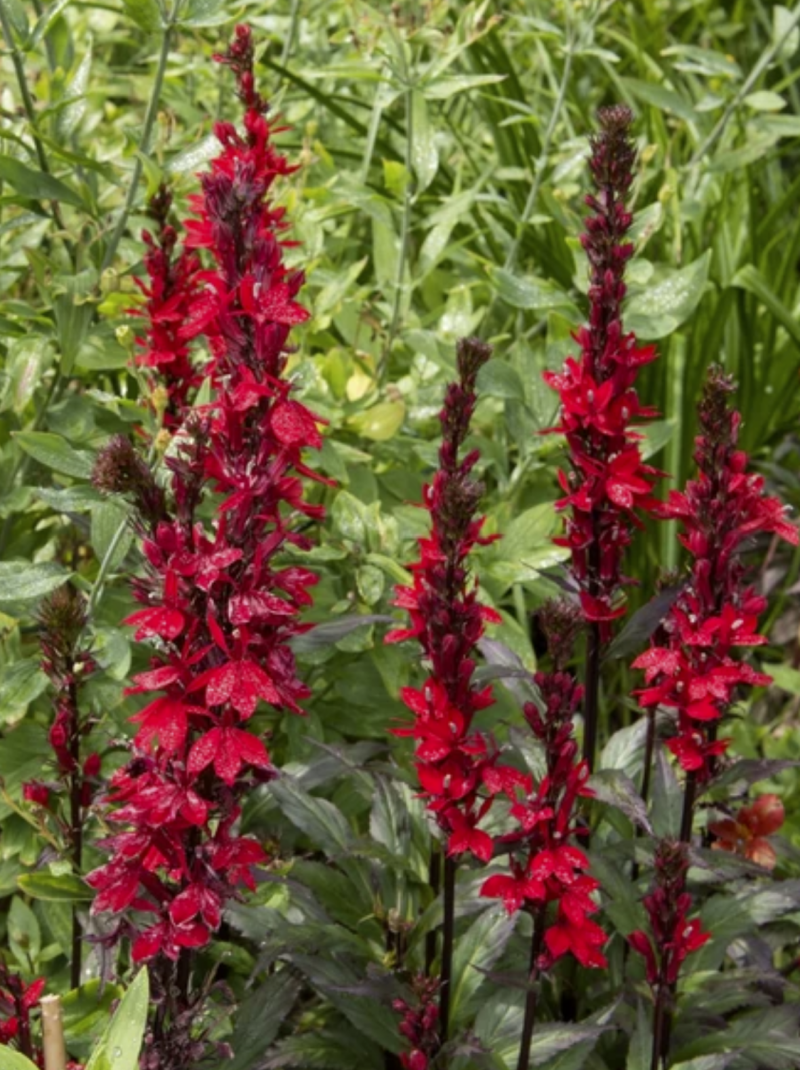
    • Cardinal Flower
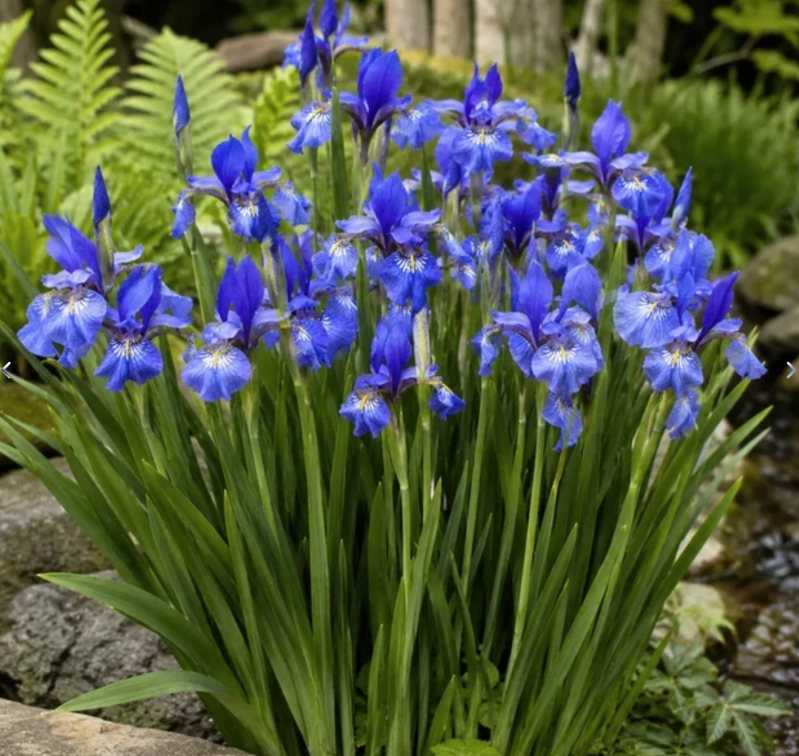
    • Blue Flag Iris
    • Swamp Rose Mallow

    How to Build a Rain Garden: A Step-by-Step Guide for a Beautiful, Eco-Friendly Yard

    Growing native, one yard at a time.

    Have you ever watched rainwater rush off your roof, across your driveway, or through your yard and wondered if there were a better way to manage it? A rain garden is a beautiful, practical solution that helps capture runoff, reduce erosion, and support local wildlife—all while adding color and life to your landscape.

    For Hampton Roads homeowners, rain gardens can be especially helpful. Our region experiences heavy rainfall, humid summers, and a mix of sandy and clay-heavy soils. A well-designed rain garden can help slow water down, give it a place to soak into the ground, and create habitat for butterflies, bees, and other beneficial wildlife.

    The best part? You don't need a huge yard or an elaborate landscaping budget to get started. With the right location, a few basic supplies, and plants suited to your site, you can create a rain garden of your own.

    What Is a Rain Garden?

    A rain garden is a shallow, planted depression designed to temporarily collect runoff from surfaces such as roofs, lawns, and driveways. Water pools briefly after a storm, then gradually infiltrates the soil or drains through a properly designed drainage system.

    Unlike a pond, a properly functioning rain garden should not hold standing water for extended periods. Its plants and soil work together to manage rainfall while providing food and shelter for pollinators and other wildlife.

    Why build a rain garden?

    • Reduce runoff: Capture some of the water that would otherwise flow across your property.

    • Help prevent erosion: Slow water down before it washes away soil and mulch.

    • Support pollinators: Native flowers provide nectar, pollen, seeds, and habitat.

    • Improve your landscape: Turn a soggy or underused area into a purposeful garden.

    • Help protect local waterways: Managing runoff at home can reduce the amount of sediment and other pollutants reaching storm drains and nearby waterways.


    Step 1: Choose the Right Location

    Location is one of the most important parts of a successful rain garden.

    Look for a naturally low area where runoff can be directed safely, or choose a spot where a downspout can feed the garden through a shallow, gently sloping channel.

    Keep the garden:

    • At least 10 feet from your home's foundation as a general starting point, and farther where site conditions or local requirements call for it.

    • Away from septic systems, wells, and buried utilities.

    • Outside areas where water could be redirected onto neighboring properties.

    • Away from steep slopes and places where concentrated runoff could cause erosion.

    Avoid placing a rain garden where water already sits for long periods unless the site has been evaluated and the design accounts for those conditions.

    Before digging, contact Virginia 811 to have underground utilities marked.

    Step 2: Test Your Soil's Drainage

    This step is especially important in Hampton Roads, where clay can slow infiltration and coastal soils vary considerably.

    1. Dig a small test hole approximately 12 inches deep.

    2. Fill it with water and let the soil become saturated.

    3. Refill the hole and mark the water level.

    4. Check how much the water level drops over the next several hours.

    For a more useful assessment, observe the rate over time rather than relying on one reading. Test more than one spot if the yard's soil varies.

    If water drains very slowly or remains in the test hole for a long time, you may need a larger or shallower rain garden, a different location, or a designed underdrain system.

    A common goal is for a rain garden to drain within about 24–48 hours after a storm, although local guidance and site conditions may specify otherwise.

    Step 3: Determine the Size and Shape

    Rain gardens can be oval, kidney-shaped, curved, or nearly rectangular. Choose a shape that looks natural in your landscape and is easy to maintain.

    To estimate the size, consider:

    • The roof or paved area draining into the garden

    • The amount of rainfall you want to manage

    • Your soil's infiltration rate

    • The available space and slope

    A small garden can be a wonderful starting point, but the size should be based on the contributing drainage area and local rainfall rather than appearance alone.

    Use stakes and string to outline the garden. Keep the bottom relatively level so water spreads evenly instead of collecting in one corner.

    Step 4: Excavate the Garden

    Remove the grass and dig a shallow basin, often around 6–12 inches deep, depending on the site and design.

    Pile the excavated soil nearby. You may be able to use some of it to build a low berm along the downhill edge of the garden.

    The berm helps retain runoff temporarily while water infiltrates. Compact and shape it carefully so water does not escape through a low spot.

    Create a designated overflow area at a safe elevation. During a very heavy storm, excess water needs a predictable route away from your house, neighboring properties, and erosion-prone areas.

    Avoid walking repeatedly over the excavated bottom, especially when the soil is wet. Compaction can make infiltration even slower.

    Step 5: Address Clay Soil and Consider Perforated PVC Pipe

    Clay soil is not automatically a reason to abandon a rain garden. However, it requires extra care because water may infiltrate much more slowly than it would in sandy soil.

    Start by improving the design, not by immediately adding pipe.

    First, consider these options:

    • Choose a location with better natural drainage.

    • Increase the garden's surface area so runoff is spread across more soil.

    • Use a shallower basin if appropriate for the site.

    • Follow local recommendations for soil amendments and engineered rain-garden soil mixes. Review the resource at the bottom of the page, Virginia Department of Forestry Guide to Rain Gardens. 

    • Reduce the amount of runoff entering the garden if the site cannot handle it safely.

    When is perforated PVC pipe useful?

    A perforated PVC underdrain may be appropriate when a rain garden is installed in poorly draining clay soil and a qualified designer determines that an underdrain is necessary.

    An underdrain is typically installed near the bottom of the prepared garden, surrounded by specified washed drainage aggregate and connected to a suitable, approved outlet. Depending on the design, the pipe may include a cleanout to allow maintenance.

    The exact pipe diameter, perforation orientation, aggregate depth, filter fabric requirements, and outlet elevation should be determined by the drainage design and local requirements.

    Important: Perforated pipe does not make water disappear. It carries water away only when the system has a suitable outlet and the elevations work correctly. Do not connect a pipe to a storm drain or discharge water onto another property without confirming that the connection and discharge are permitted. A poorly designed underdrain can move pollutants or create new drainage problems.

    For a simple homeowner project, consider a conventional rain garden first. If the soil stays saturated, have the site evaluated before installing an underdrain.

    Step 6: Prepare the Soil

    Once the basin is shaped, prepare the planting area.

    Break up compacted soil carefully without overworking it when wet. If soil amendments are recommended, use an appropriate rain-garden soil mix based on the site's conditions and local guidance.

    Avoid adding a thick layer of rich compost or fertilizer indiscriminately. Excess nutrients can wash into waterways, and overly rich soil may not suit many native plants.

    If an underdrain is part of the design, install the specified aggregate, pipe, and soil layers according to the approved plan before planting.

    Rake the bottom smooth and check that the basin remains level.

    Step 7: Choose Native Plants for Your Rain Garden

    Plants are what make a rain garden feel like a real garden rather than a drainage feature. Native plants are particularly valuable because many local insects and birds depend on them.

    Choose plants based on the moisture zones within your garden.

    For the wetter center:

    • Swamp rose mallow

    • Swamp milkweed

    • Soft rush, where suitable

    • Other locally native moisture-loving perennials

    For the middle zone:

    • Virginia sweetspire

    • Blue flag iris, where suitable

    • Native sedges

    • Native asters suited to the site's light and moisture

    For the outer, drier edge:

    • Black-eyed Susan

    • Little bluestem

    • Other native flowering perennials suited to your soil and sunlight

    Plant selection matters: a species that tolerates occasional flooding may not tolerate continuously saturated clay. Check each plant's regional native status and moisture requirements before buying.

    For a Hampton Roads garden, favor species native to southeastern Virginia when possible. Avoid invasive plants and avoid collecting plants from the wild.

    Step 8: Plant and Mulch

    Arrange your plants before digging individual planting holes. Grouping several plants of the same species often creates a more natural look and makes maintenance easier.

    1. Place taller plants toward the center or back, depending on the garden's viewing angle.

    2. Space plants according to their mature width.

    3. Dig holes slightly wider than the root balls.

    4. Set each plant at the same depth it was growing in its nursery container.

    5. Backfill gently and water thoroughly.

    6. Add approximately 2–3 inches of suitable mulch, keeping it away from plant crowns and stems.

    Shredded mulch is often preferable to lightweight bark nuggets, which can float away during heavy rain.

    Step 9: Direct Runoff Into the Garden

    A downspout extension, shallow grass swale, or other suitable inlet can guide water into the rain garden.

    Make sure the inlet spreads water rather than concentrating it into a narrow, eroding stream. Stones or other erosion-control materials may be useful where runoff enters the basin.

    Keep the inlet and overflow clear of leaves and debris. Water should enter gently and leave through the designated overflow only when the garden reaches its intended capacity.

    Step 10: Water, Observe, and Maintain

    A rain garden needs care while its plants establish.

    During the first growing season:

    • Water during dry periods, especially after planting.

    • Pull weeds before they set seed.

    • Replace displaced mulch.

    • Inspect the inlet and overflow after heavy rainfall.

    • Watch for erosion, exposed roots, or water that remains too long.

    After the garden is established:

    • Water during extended drought when necessary.

    • Cut back plants according to their growth habits and wildlife value.

    • Leave some seed heads and stems over winter to provide food and shelter for wildlife.

    • Remove invasive plants and replenish mulch as needed.

    After a significant storm, observe how the garden performs. If water repeatedly remains for more than 48 hours, investigate clogged inlets, compaction, soil conditions, and the original sizing before adding more plants or altering drainage.

    Final Thoughts: Start Small and Grow Native

    A rain garden is a practical way to make your yard work with nature instead of against it. By slowing runoff, supporting native plants, and providing habitat for pollinators, even a modest garden can contribute to a healthier neighborhood.

    If you live in Hampton Roads, pay particular attention to clay soil, drainage patterns, and where excess water will go during a heavy storm. When a site needs a perforated PVC underdrain, make sure it is designed with a suitable outlet and follows local requirements.

    You don't have to transform your entire yard at once. Start with a manageable area, choose plants that belong in our region, and let your garden grow over time.

    Growing native, one yard at a time.

    Root & Bloom Norfolk | Serving Tidewater

    Before construction, check local stormwater guidance and applicable permits. Rain-garden sizing, setbacks, underdrains, and discharge requirements depend on the site and jurisdiction.

    Storm flooding affects homes, roads, businesses, and daily life across our coastal Southeastern VA communities.

    <script async src="https://pagead2.googlesyndication.com/pagead/js/adsbygoogle.js?client=ca-pub-6545958482916591"
    crossorigin="anonymous"></script>

    Source Citation: Photograph of downtown flooding on Granby Street during the Chesapeake–Potomac Hurricane of August 23, 1933, Norfolk, Virginia. Courtesy of the Virginian-Pilot Collection, Sargeant Memorial Collection, Norfolk Public Library.

    Flooding is nothing new to Hampton Roads, but over the past year, we’ve seen more and more clearly how flooding can shut down businesses, close roads, and disrupt entire parts of our communities.

    Large infrastructure projects are essential to addressing our region’s aging infrastructure, but neighborhood-scale solutions can also make a meaningful difference.

    One piece of the problem is that during heavy rainfall, our stormwater infrastructure can become overwhelmed. We can’t always control how much rain falls—but we can help control how quickly that water reaches the storm drains.

    Rain gardens, native plants, rain barrels, trees, and other green infrastructure can help slow, capture, and absorb stormwater where it falls, giving our drainage systems more time to handle the water.

    And this becomes especially important when heavy rain arrives at high tide, when water has fewer places to go.

    Flood resilience isn’t just about bigger infrastructure. It’s also about what we can do, yard by yard and neighborhood by neighborhood, to help our communities handle the water.

    When your street becomes a river…

    A Norfolk resident recently took a jet ski down a flooded street after a major storm — and while the video is certainly wild, it also highlights just how much water our infrastructure can be dealing with during extreme rainfall.

    Flooding in Hampton Roads isn't just an inconvenience. It can shut down roads, businesses, and neighborhoods.

    We need to keep talking about ways to slow, capture, and manage stormwater — from rain gardens and rain barrels to larger infrastructure improvements.

    "Lake Onley" has been flooding for decades, as have many noted roads in Norfolk, VA.

    Historical map: Illustrated Map of Historic Norfolk, Virginia, D.H. Smith, 1944.

    The map illustrates the waterways and historic landscape of Norfolk before many areas were substantially altered by later development.

    🌿Stay Informed with the Latest Updates in Resiliency Gardening
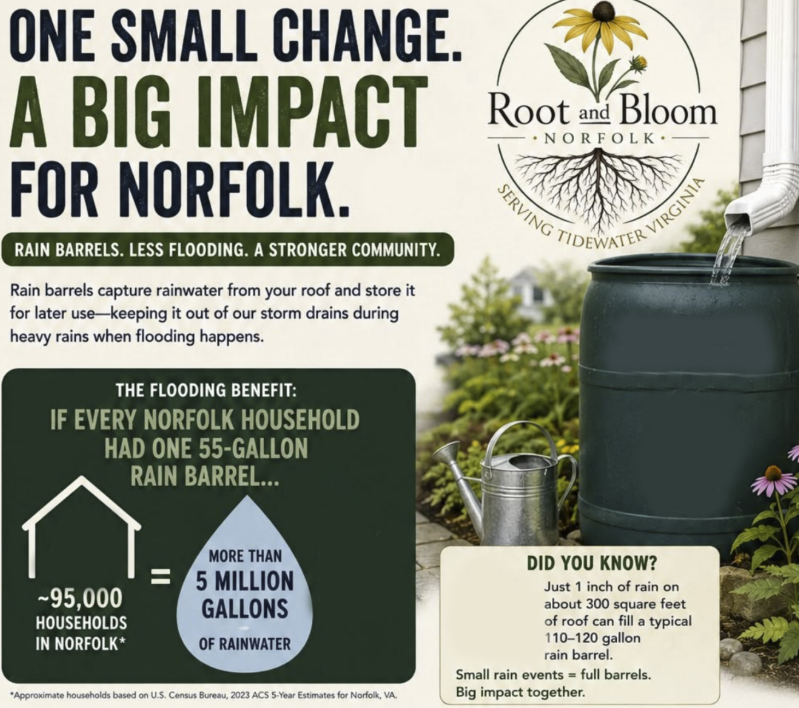
    🌿Preparing Your Tidewater Yard for a Hurricane

    Hurricane season is here, and if you live in Norfolk or anywhere in Hampton Roads, preparing your home shouldn't wait until a storm is headed our way.

    Here in coastal Virginia, hurricane preparation isn't just about boarding up windows and buying bottled water. Flooding, storm surge, heavy rainfall, high winds and power outages can all affect our homes and neighborhoods.

    And your yard matters, too.

    The way we prepare our landscapes can help protect our property, reduce loose debris and make our yards more resilient to heavy rain.

    The City of Norfolk's hurricane preparedness guidance boils preparation down to three simple ideas:

    Get a Kit. Get a Plan. Stay Informed.

    Here's how we can put those ideas into practice—inside and outside our homes.

    Read the full article here. 

    How to secure a rain barrel before a Hurricane or Tropical Storm

    Rain barrels are great for conserving water—but during hurricane season, they need to be secured just like your patio furniture and garden containers.

    Read the full article here. 

    Here comes the rain! And... the mosquitoes!


    How BTI Can Help Control Mosquito Larvae Naturally


    After a big summer rain, our yards can quickly become mosquito nurseries.

    A little standing water in a plant saucer, clogged gutter, bucket, birdbath, rain barrel, or low spot can be enough for mosquitoes to lay eggs. Within days, those tiny pools can become breeding grounds.

    So what can you do when you can't dump the water?

    That's where BTI comes in.

    Read the full article here.

    Rain Barrels: A Simple Tool for a More Resilient Yard


    When we think about preparing our homes for heavy rain, flooding, and summer heat, we don't always think about something as simple as a rain barrel.


    But a rain barrel can do a lot more than provide free water for your garden. It can help slow stormwater, reduce pressure on drainage systems, conserve drinking water, and give your household an extra source of water when you need it.

    For communities like ours in Tidewater Virginia, where heavy rain and flooding are increasingly part of the landscape, capturing rain where it falls is a small action that can make a meaningful difference.


    Read the full article here. 

    Just Survived a Hampton Roads Downpour? 10 Things to Do in Your Yard This Weekend


    Weekend Post-Storm Yard Cleanup: A Hampton Roads Checklist


    After a big Hampton Roads storm, it's tempting to grab a rake, empty everything, cut everything back, and make the yard look “clean” again.

    But after heavy rain, your landscape actually needs something a little different.

    The goal isn't to make your yard spotless. It's to help water move, prevent mosquito breeding, protect your soil, and preserve the small habitats that help your garden thrive.

    Here are 8 things to check this weekend after a major rain.


    Read the full article here. 

    🌿Rain Gardens: Helping Norfolk Manage Too Much Water—and Make Better Use of the Rain We Get

    Too much rain. Not enough rain.

    It can seem like Norfolk is constantly dealing with one or the other.

    A heavy summer storm can leave water pooling in yards, rushing down streets, and flowing toward storm drains. Then, after stretches without enough rainfall, our gardens and landscapes can begin to dry out.

    So what if part of the answer isn't trying to get rid of rain as quickly as possible?

    What if we could slow it down, let more of it soak into the ground, and put our yards to work?

    That's where rain gardens—and the native plants growing in them—can make a difference.

    Read More Here. 

    We promote practical solutions such as:

    • Rain gardens that capture and filter stormwater

    • Rain barrels that reduce runoff during storms

    • Native plants that improve soil absorption

    • Tree canopies that slow the rain hitting the streets

    • Permeable landscaping techniques

    • Community education about stormwater solutions

    Please check out our Recommended Products and Retailers below. 

    Every yard can become part of a larger network of protection.


    🌿Resiliency Resources
    Rain Garden Starter Guide

    Want to reduce flooding, improve water quality, and create habitat for pollinators? Rain gardens capture and filter stormwater runoff before it reaches local waterways.

    Resource provided by the Virginia Department of Forestry. All rights remain with the original publisher.